Felpro rear main seals are designed to prevent oil leaks at the crankshaft’s rear. Available in one-piece and two-piece designs, they ensure proper sealing and engine longevity when installed correctly.
Overview of Felpro Rear Main Seal Types
Felpro offers a variety of rear main seal designs to suit different engine applications. The most common types include one-piece rubber seals and two-piece rubber seals. One-piece seals are popular for their simplicity and durability, often featuring a metal garter spring to ensure a tight fit. Two-piece seals are ideal for older vehicles, replacing traditional rope seals with improved sealing technology. Additionally, Felpro provides PTFE (PolyTetraFluoroEthylene) seals for modern engines, known for their resistance to extreme temperatures and chemicals. Each type is designed to prevent oil leaks and protect against contaminants. Proper selection depends on the vehicle’s make, model, and engine specifications. Always refer to Felpro’s instructions for specific installation recommendations. These seals are engineered to provide a reliable solution for rear main sealing needs, ensuring long-lasting performance and reducing the risk of costly repairs.


Importance of Proper Installation
Proper installation of a Felpro rear main seal is crucial to ensure effective engine operation and prevent costly damage. A leaking rear main seal can lead to oil loss, contamination of engine components, and premature wear on the crankshaft and bearings. Correct installation prevents these issues, safeguarding engine longevity. Felpro seals are designed with specific features, such as pre-installed plastic protectors and precise sealing lips, which must be correctly aligned during installation. Misalignment or improper seating can result in immediate leaks or seal failure. Additionally, improper installation can void the product warranty and lead to additional repairs. Following Felpro’s step-by-step instructions ensures the seal is installed correctly, with the largest sealing lip facing the engine’s front. Proper preparation, including cleaning mating surfaces and applying the recommended lubricants, is also essential. A well-installed rear main seal prevents leaks, reduces maintenance needs, and ensures optimal engine performance over time.

Preparation for Installation
Preparation involves gathering tools like a socket set, seal installer, and cleaning supplies. Clean the crankshaft and bearing cap surfaces thoroughly, removing any debris or old seal residue. Apply a light coat of engine oil to the crankshaft before installation, ensuring proper lubrication and preventing damage to the new seal.
Tools and Materials Needed

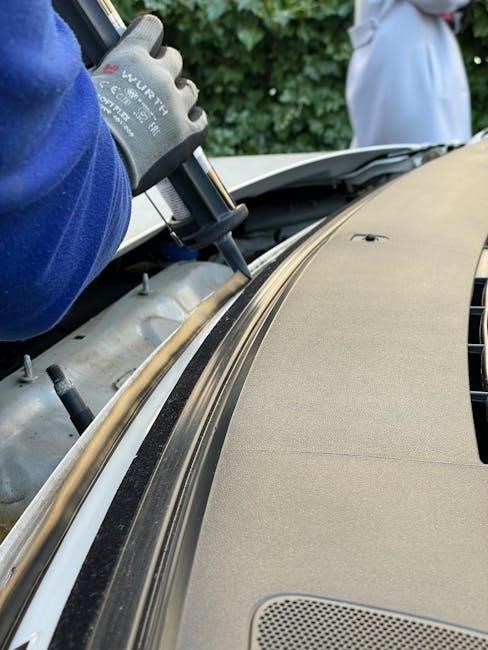
Installing a Felpro rear main seal requires specific tools and materials to ensure a proper fit and seal. Essential tools include a rear main seal installer tool, which prevents damage during installation, a socket set for removing the rear main cap, and a punch or screwdriver for extracting the old seal. Additionally, a cleaning brush and degreaser are necessary for preparing the crankshaft and bearing cap surfaces. Materials needed include the Felpro rear main seal itself, a small amount of RTV sealant for the bearing cap, and engine oil for lubricating the crankshaft. For two-piece seals, a dab of Mahle sealant on the ends is recommended. Ensure all components are clean and dry before starting the installation process to avoid contamination and ensure a reliable seal.
Cleaning and Inspection of the Crankshaft and Bearing Cap
Thoroughly cleaning and inspecting the crankshaft and bearing cap are critical steps before installing a new Felpro rear main seal. Use a degreaser to remove any old oil, dirt, or debris from the crankshaft’s sealing surface and the bearing cap. Scrub the area with a stiff-bristled brush to ensure a clean surface for the new seal. After cleaning, inspect the crankshaft for any nicks, scratches, or excessive wear, as these can compromise the seal’s performance. If damage is found, it may be necessary to repair or replace the crankshaft before proceeding. Additionally, examine the bearing cap for any signs of wear or damage. A smooth, even surface is essential for the rear main seal to function properly. Once cleaned and inspected, lightly oil the crankshaft to prepare it for the new seal, following the manufacturer’s instructions to ensure optimal installation conditions.
Installation Steps
Remove the old rear main seal and thoroughly clean the area. Install the new Felpro seal, ensuring it is dry and properly aligned with the large lip facing forward. Use the provided tool to secure it in place without damaging the sealing surface.

Removing the Old Rear Main Seal
Start by draining the engine oil to minimize mess and ensure a clean workspace. Remove the oil pan, oil pump, and rear main bearing cap to access the old rear main seal. Gently pry the seal out using a flathead screwdriver or a specialized removal tool, taking care not to scratch the crankshaft or bearing cap surfaces. Once removed, thoroughly clean the area with a degreaser to remove any residual oil or debris. Inspect the crankshaft for nicks or scratches, addressing any damage with a crocus cloth to prevent further issues. Properly dispose of the old seal and prepare the area for the new Felpro rear main seal installation. This step is critical to ensure a leak-free seal and optimal engine performance.
Installing the New Felpro Rear Main Seal
Begin by ensuring the area is clean and free from debris. Apply a light coat of engine oil to the new Felpro rear main seal, following the manufacturer’s instructions. Orient the seal correctly, typically with the large lip facing towards the front of the engine. Gently press the seal into place using a suitable tool to avoid damaging it. Ensure the seal is fully seated and aligned properly. For two-piece seals, apply a small amount of RTV sealer at the joints, being careful not to obstruct the sealing lip. Allow the sealer to set before reassembling any components. Once installed, reattach the rear main bearing cap and oil pan, tightening all bolts to the recommended torque specifications. Finally, inspect the area for any signs of leaks to confirm a successful installation.
Post-Installation Procedures
After installing the Felpro rear main seal, reattach the rear main bearing cap and oil pan, ensuring all bolts are tightened to the manufacturer’s specifications. Apply a thin layer of Fel-Pro recommended gasket sealer to prevent leaks and ensure a proper seal. Allow the seal to set according to the instructions before starting the engine. Finally, inspect the area for any signs of leakage to confirm the installation’s success.
Reassembling the Engine Components

Once the new Felpro rear main seal is installed, carefully reassemble the engine components in the reverse order of disassembly. Start by applying a thin layer of Fel-Pro recommended RTV sealer to the mating surfaces of the rear main bearing cap and engine block. Gently place the cap back into position, ensuring it is properly aligned. Tighten the bolts in a star pattern to the manufacturer’s specified torque to avoid warping the cap. Next, reinstall the oil pan using Fel-Pro gaskets to ensure a leak-free seal. Apply a small amount of sealer to the pan gasket and bolt it into place, following the recommended torque sequence. Finally, reconnect any other components, such as the oil pump or transmission, if they were removed during the process. Double-check all connections and ensure there are no gaps or misalignments before proceeding to test the engine.

Testing for Leaks
After completing the installation and reassembling the engine components, it is crucial to test for leaks to ensure the Felpro rear main seal is functioning properly. Start by running the engine at a low idle for several minutes to circulate the oil and allow the seal to seat correctly. Carefully inspect the rear of the engine, looking for any signs of oil leakage around the seal area. If no leaks are detected, turn off the engine and allow it to cool slightly before proceeding. For added assurance, apply a UV dye to the oil and use a UV light to check for any microscopic leaks that may not be visible to the naked eye. If a leak is detected, re-examine the seal installation to ensure it is properly seated and aligned. If everything appears correct, take the vehicle for a test drive under various driving conditions to confirm the repair was successful.